> ## Documentation Index
> Fetch the complete documentation index at: https://docs.topsort.com/llms.txt
> Use this file to discover all available pages before exploring further.

# Banner-Platzierung Konfigurieren

> Wie man Platzierungen für Banner konfiguriert

export const LastUpdatedDe = ({date}) => {
  const label = "Zuletzt aktualisiert:";
  return <>
      <style>{`
        .last-updated-component {
          display: inline-flex;
          align-items: center;
          gap: 8px;
          padding: 10px 16px;
          border-radius: 8px;
          margin-top: 12px;
          margin-bottom: 16px;
          font-size: 14px;
          background-color: rgba(0, 0, 0, 0.05);
          border: 1px solid rgba(0, 0, 0, 0.12);
          color: rgba(0, 0, 0, 0.75);
          line-height: 1;
        }

        .last-updated-component svg {
          flex-shrink: 0;
          vertical-align: middle;
        }

        .last-updated-component span {
          display: inline-flex !important;
          align-items: center !important;
          line-height: 1 !important;
        }

        [data-theme="dark"] .last-updated-component {
          background-color: #3a3a3a;
          border: 2px solid #888888;
          color: #ffffff;
        }

        [data-theme="dark"] .last-updated-component svg {
          stroke: #ffffff;
        }
      `}</style>
      <div className="last-updated-component">
        <svg width="16" height="16" viewBox="0 0 24 24" fill="none" stroke="currentColor" strokeWidth="2" strokeLinecap="round" strokeLinejoin="round">
          <circle cx="12" cy="12" r="10" />
          <polyline points="12 6 12 12 16 14" />
        </svg>
        <span>
          <strong style={{
    fontWeight: 600
  }}>{label}</strong> 
          <time dateTime={date}>{date}</time>
        </span>
      </div>
    </>;
};

<div style={{textAlign: 'justify', marginBottom: '1.5rem'}}>
  Jede Banner-Platzierung repräsentiert eine Platzierung Ihres Inventars und dient auch als Platzhalter für Banner.
</div>

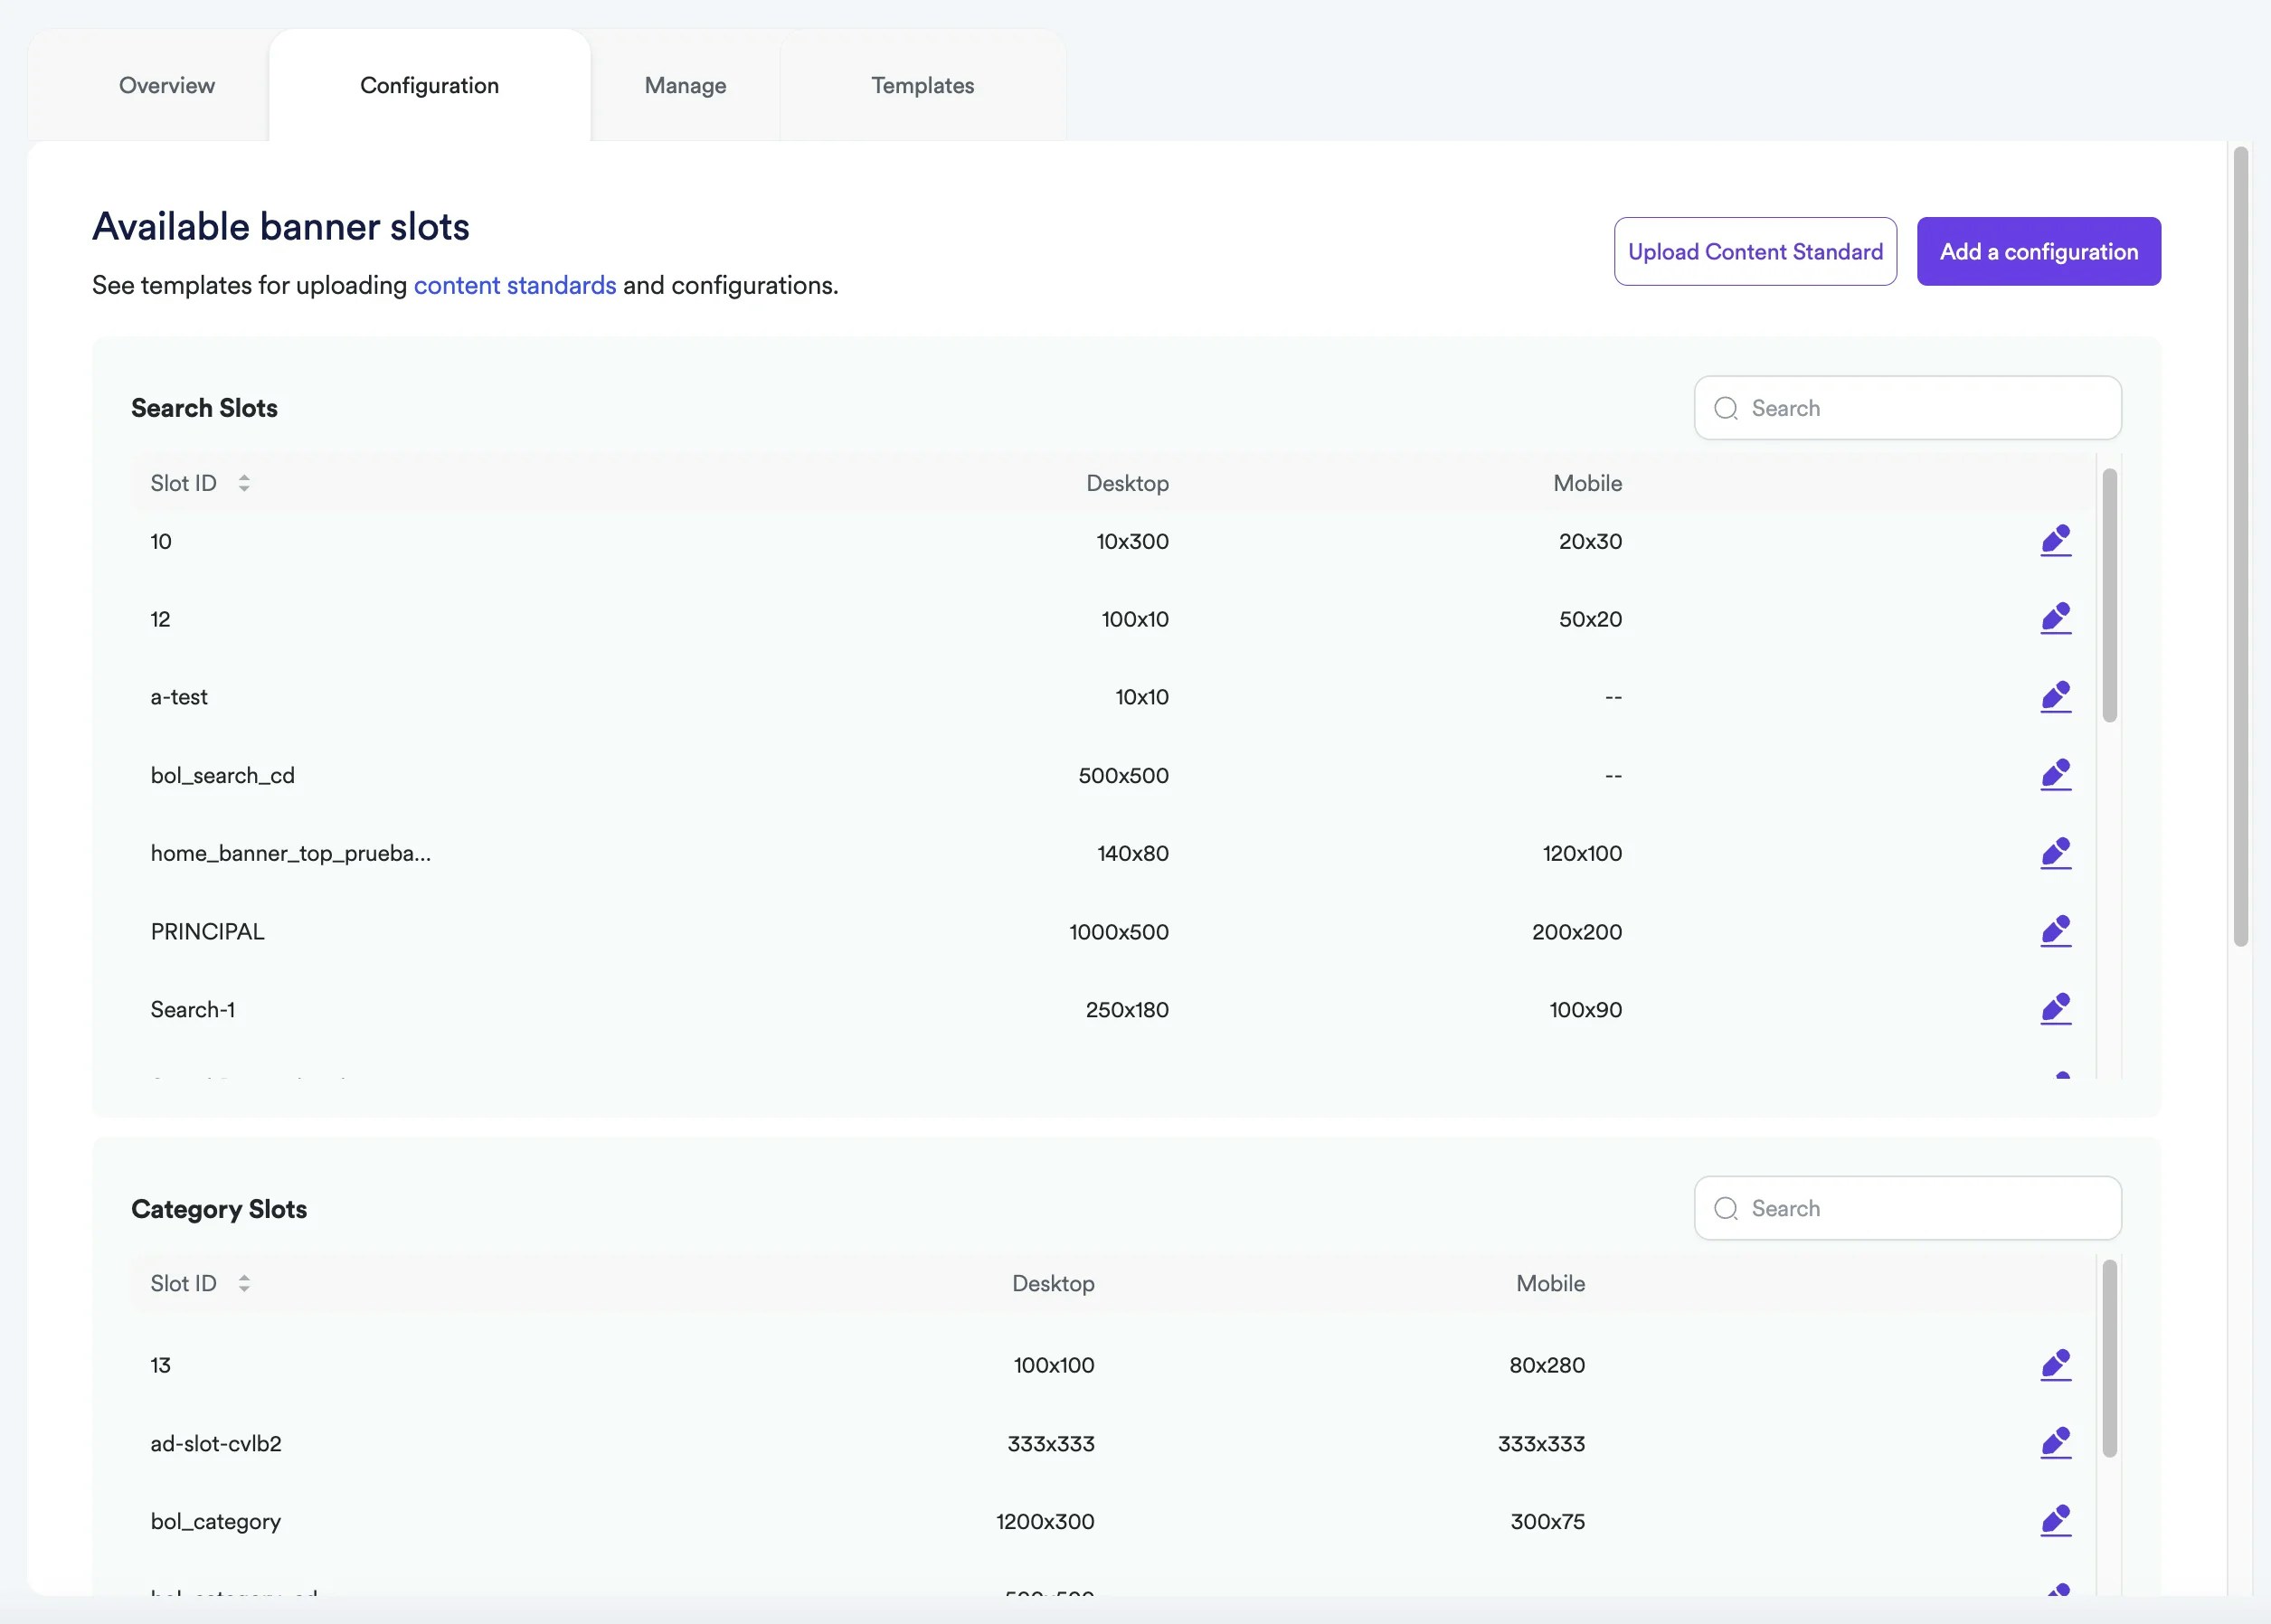
## Alle erstellten Platzierungen anzeigen

<div style={{textAlign: 'justify', marginBottom: '1.5rem'}}>
  Die Seite "Konfiguration" zeigt alle unter ihrer entsprechenden Platzierung (Zielseite, Kategorien oder Suche) vorgenommenen Konfigurationen an.
</div>

<div style={{textAlign: 'justify', marginBottom: '1.5rem'}}>
  **<Frame>  <img src="https://mintcdn.com/topsort/FVdFH6-GAInpFZWG/images/knowledge-base/ad-platform-banners-banner-slots-configuration-v2.webp?fit=max&auto=format&n=FVdFH6-GAInpFZWG&q=85&s=0c9300b92718ca295a841162b1f9b519" alt="Konfigurationsbildschirm für Banner-Platzierungen." width="2511" height="1796" data-path="images/knowledge-base/ad-platform-banners-banner-slots-configuration-v2.webp" /></Frame>**
</div>

### Wie man neue Platzierungen erstellt

<div style={{textAlign: 'justify', marginBottom: '1.5rem'}}>
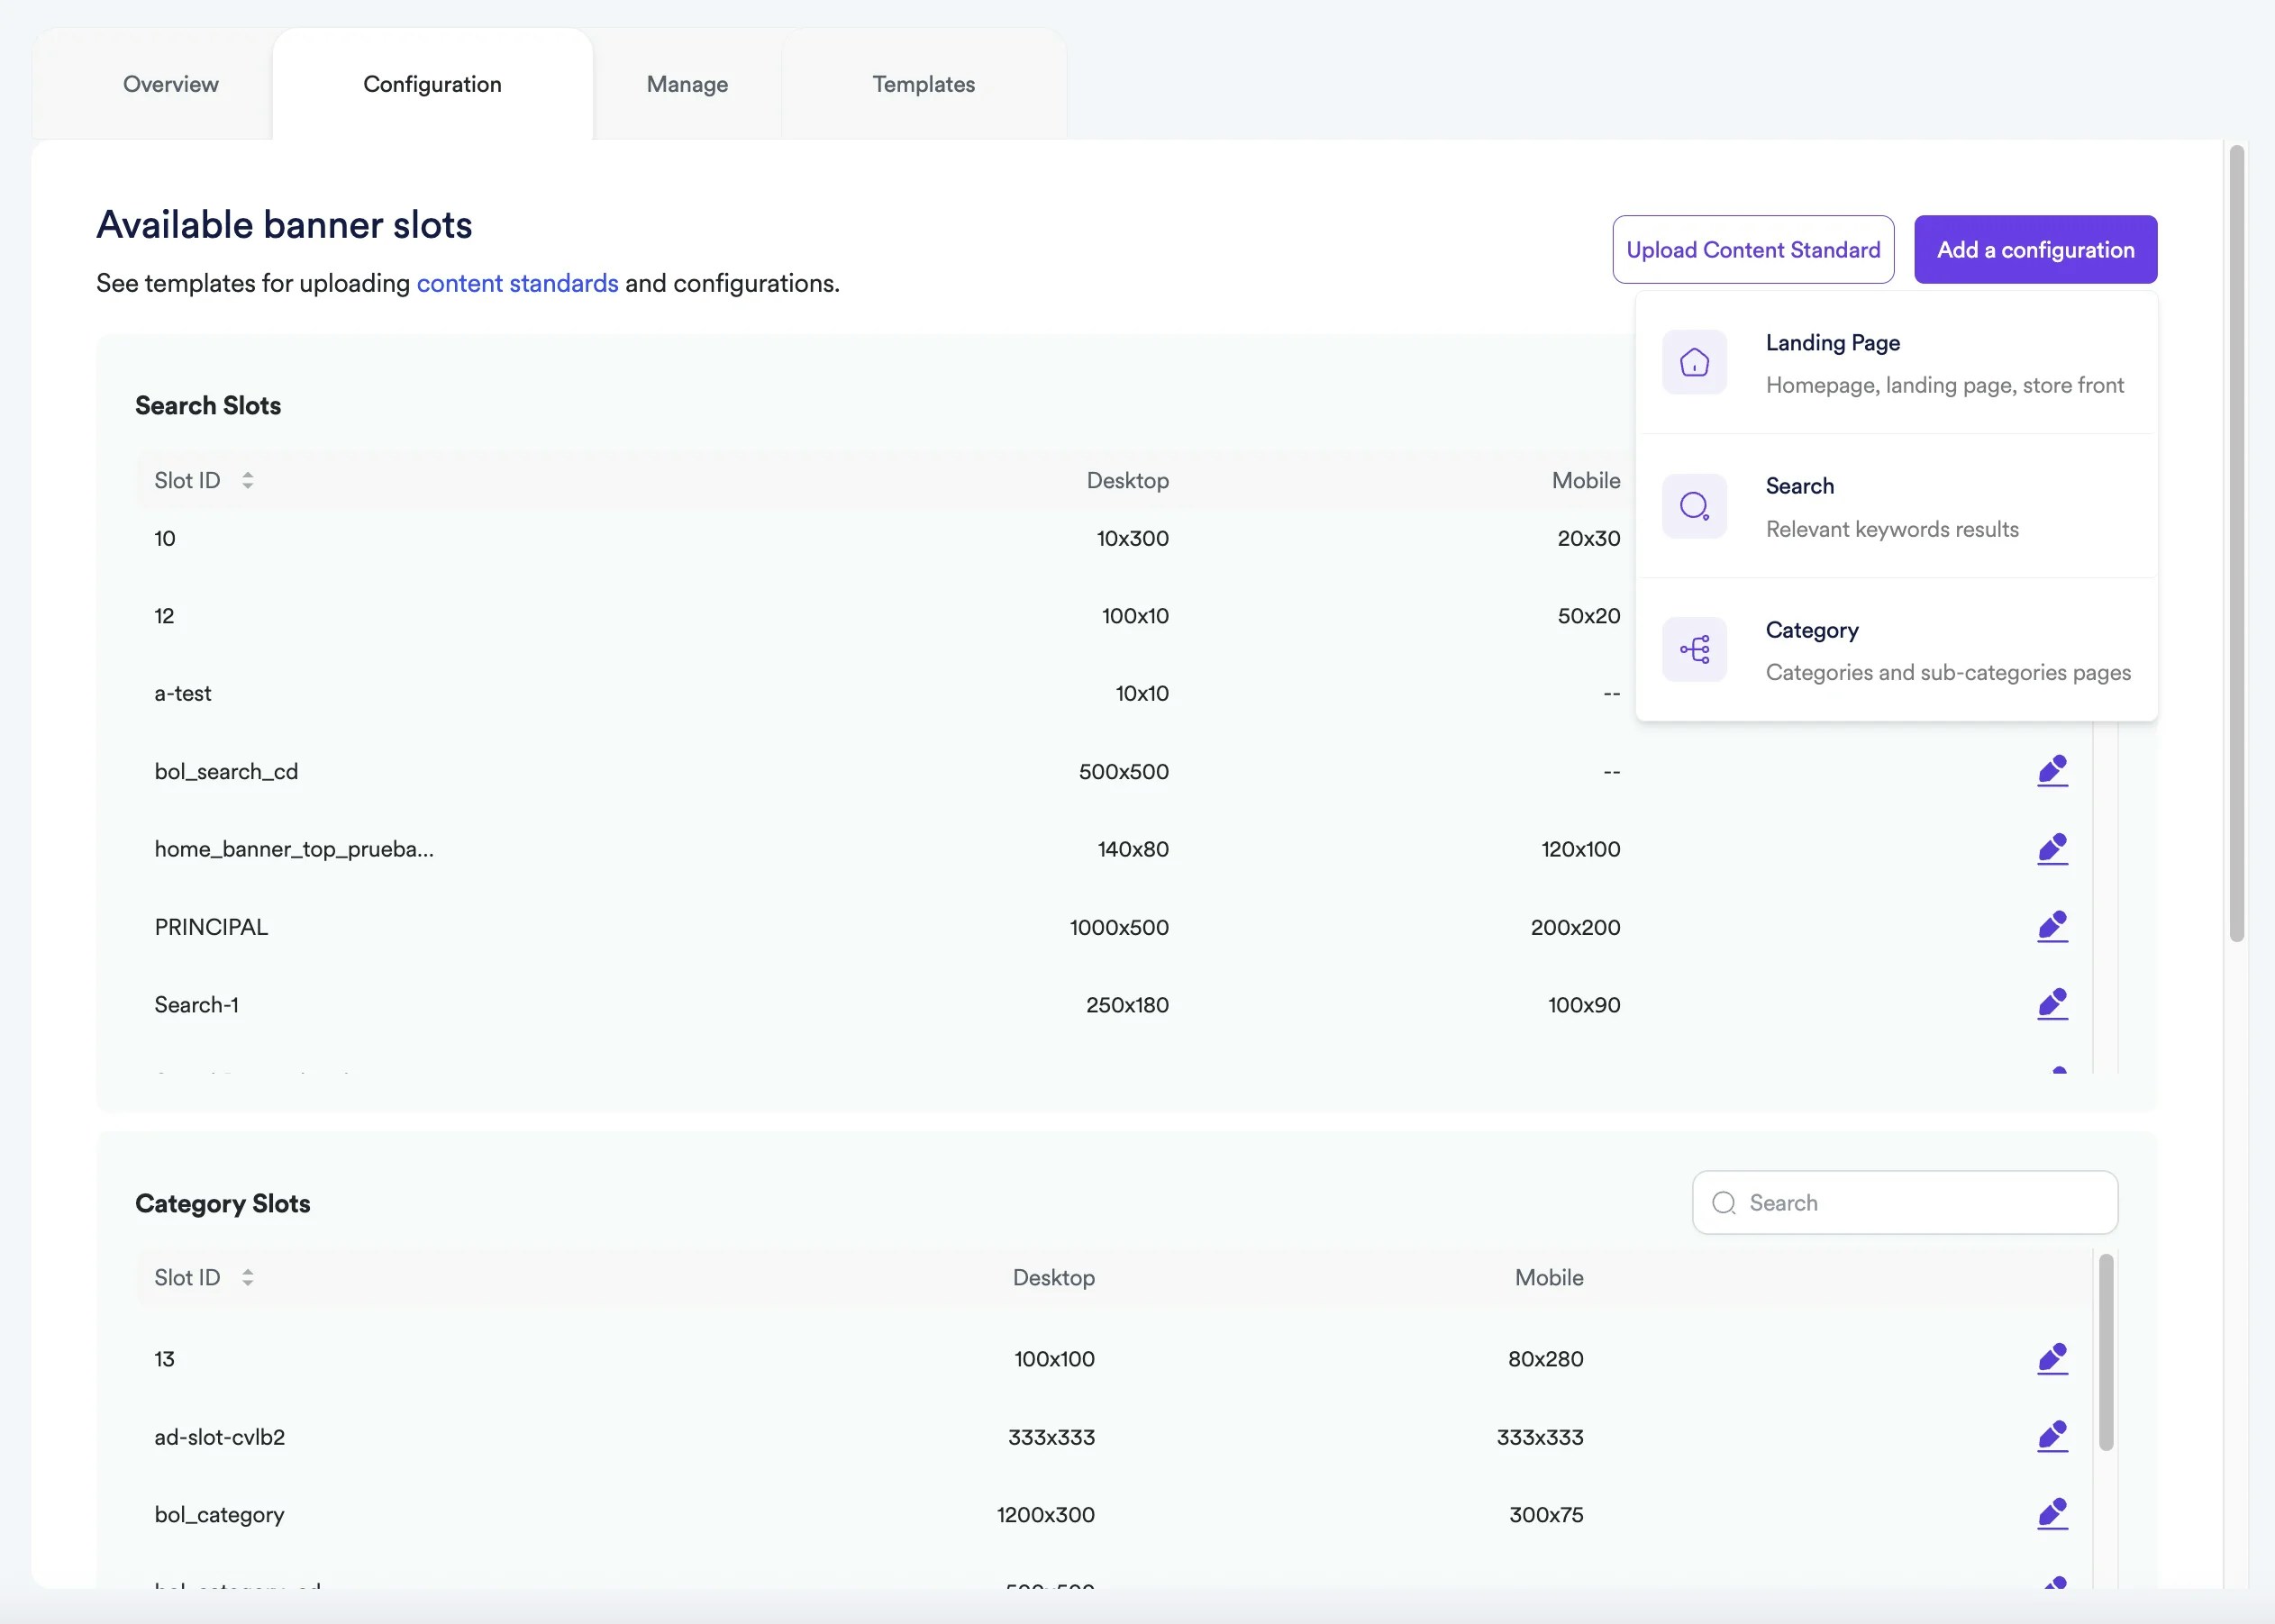
  Sie können neue Konfigurationen erstellen, indem Sie auf die Schaltfläche "Konfiguration hinzufügen" klicken. Hier können Sie zwischen den Optionen Zielseite, Suche und Kategorie wählen. Sie können dann entweder die Details manuell eingeben oder mehrere Platzierungen in großen Mengen hochladen. Sie können separate Banner-Anzeigenerlebnisse für Mobilgeräte, Desktop und Apps erstellen.
</div>

<div style={{textAlign: 'justify', marginBottom: '1.5rem'}}>
  **<Frame>  <img src="https://mintcdn.com/topsort/FVdFH6-GAInpFZWG/images/knowledge-base/ad-platform-banners-banner-slots-configuration-2-v2.webp?fit=max&auto=format&n=FVdFH6-GAInpFZWG&q=85&s=02169a87642311e433aa996955e9c48d" alt="Neue Banner-Platzierungskonfiguration für Zielseiten hinzufügen." width="2525" height="1803" data-path="images/knowledge-base/ad-platform-banners-banner-slots-configuration-2-v2.webp" /></Frame>**
</div>

## Zielseiten

<div style={{textAlign: 'justify', marginBottom: '1.5rem'}}>
  Eine Zielseite kann eine beliebige Anzahl von Platzierungen enthalten. Sie können sogar mehrere Platzierungen in denselben Abschnitten erstellen, um Karussells oder Slider mit Banner-Anzeigen zu erstellen.
</div>

<div style={{textAlign: 'justify', marginBottom: '1.5rem'}}>
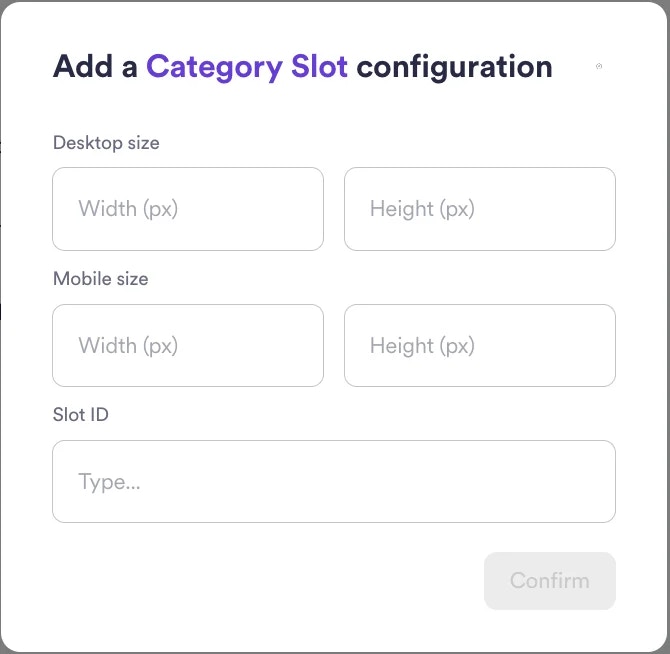
  Für jede Platzierung, die zu einer Zielseite gehört, müssen Sie Folgendes angeben:
</div>

<div style={{textAlign: 'justify', marginBottom: '1.5rem'}}>
  * **Zielseiten-Link:** Die URL der Seite, auf der die Platzierung erstellt wird.
  * **Zielseiten-Name:** Der Name der Zielseite, zu der die Platzierung gehört.
  * **SlotID:** Eine eindeutige Kennung, die alphanumerische Zeichen und die folgenden Symbole enthalten kann: !"#\$%&'()\*+,-.\_/:;\<>?@\[]^\{}\~=
  * **Breite:** Die Breite des Platzierungsbildes.
  * **Höhe:** Die Höhe des Platzierungsbildes.
</div>

### Beispiele

<div style={{textAlign: 'justify', marginBottom: '1.5rem'}}>
  <table>
    <tbody>
      <tr>
        <td>
          <p>
            <strong>Zielseiten-Link</strong>
          </p>
        </td>

        <td>
          <p>
            <strong>Zielseiten-Name</strong>
          </p>
        </td>

        <td>
          <p>
            <strong>SlotID</strong>
          </p>
        </td>

        <td>
          <p>
            <strong>Desktop-Breite</strong>
          </p>
        </td>

        <td>
          <p>
            <strong>Desktop-Höhe</strong>
          </p>
        </td>

        <td>
          <p>
            <strong>Mobile Breite</strong>
          </p>
        </td>

        <td>
          <p>
            <strong>Mobile Höhe</strong>
          </p>
        </td>
      </tr>

      <tr>
        <td>
          <p>
            <a href="http://example.com/home">[http://example.com/home](http://example.com/home)</a>
          </p>
        </td>

        <td>
          <p>Homepage Christmas</p>
        </td>

        <td>
          <p>top-slot-1</p>
        </td>

        <td>
          <p>100</p>
        </td>

        <td>
          <p>50</p>
        </td>

        <td>
          <p>40</p>
        </td>

        <td>
          <p>40</p>
        </td>
      </tr>

      <tr>
        <td>
          <p>
            <a href="http://example.com/home">[http://example.com/home](http://example.com/home)</a>
          </p>
        </td>

        <td>
          <p>Homepage Christmas</p>
        </td>

        <td>
          <p>right-slot-2</p>
        </td>

        <td>
          <p>50</p>
        </td>

        <td>
          <p>200</p>
        </td>

        <td>
          <p />
        </td>

        <td>
          <p />
        </td>
      </tr>
    </tbody>
  </table>
</div>

## Kategorie und Suche

<div style={{textAlign: 'justify', marginBottom: '1.5rem'}}>
  Mit Topsort können Sie Banner-Anzeigen schalten, die auf bestimmte Kategorien und Schlüsselwörter abzielen. Kategorie- und Suchwerbung hat eine sehr hohe Relevanz, wenn sie richtig konfiguriert ist, was ihre Nachfrage und ihren Wert erhöht. Sie können beispielsweise eine Banner-Anzeigenplatzierung auf der Kategorieseite "Wanderschuhe" erstellen und nur Outdoor-Aktivitätsmarken Zugang gewähren.
</div>

<Frame>
  <img src="https://mintcdn.com/topsort/FVdFH6-GAInpFZWG/images/knowledge-base/ad-platform-banners-banner-slots-category-configuration.webp?fit=max&auto=format&n=FVdFH6-GAInpFZWG&q=85&s=e9868f891b39f28b53b011d5eaca95ad" alt="Beispiel für Kategorie-Platzierungskonfiguration." width="670" height="654" data-path="images/knowledge-base/ad-platform-banners-banner-slots-category-configuration.webp" />
</Frame>

***

<LastUpdatedDe date="2025-11-18" />
